A guide to install Ubuntu Server
This installation of Ubuntu Server is performed on a PC with an optical drive, but you can alternatively use a USB flash drive too to boot into Ubuntu Server. The how-to to use a USB for installing any version of Linux is described step-by-step here.
Prior to the boot process, make sure that you have put the optical drive/USB drive up in the boot priority from the BIOS of your PC. Or, you can hit F12 repeatedly upon reboot until the boot menu comes along.
Things to note down before you start to attempt the install. Get a pen and a paper, gentlemen and ladies!
- All the drives letters and capacity and free space written next to it. You cant see drive letters of your drives while installing. So keeping them handy will be better in all the ways.
- Your PCs IP address. Youll be asked for it just in the third step of installation. Jot it down.
- Your PCs host name, if youve been given any. If you dont have one, you can write whatever you wish for to identify you in a network.
Thats it! Get ready for the ride!
1. Pop the CD/DVD in the optical drive compartment, or plug the USB flash drive in the PC.
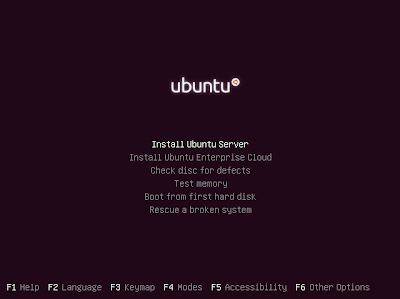
2. Select Install Ubuntu Server from the menu.
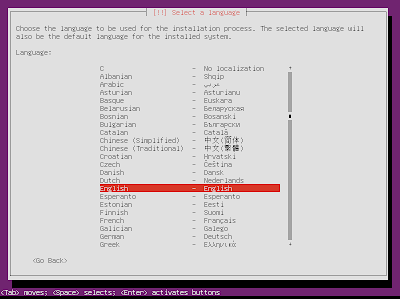
3. Select a desired language you want to install Ubuntu in, unless you dont want to get help of aliens to control your computer, select your mother tongue.
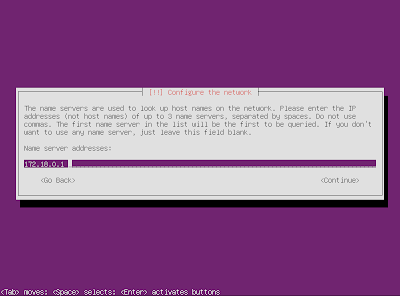
4. Put the IP address on the next screen.
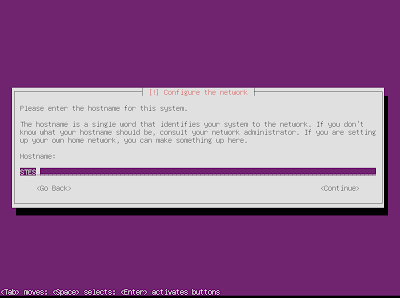
5. Enter the hostname. Or make up something.
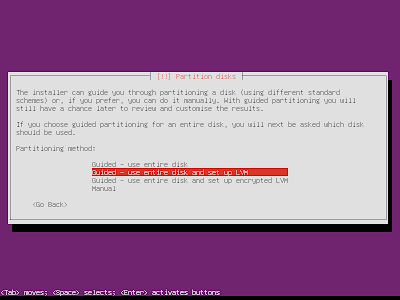
6. In the partition disk menu, select Guided - use entire disk and set up LVM.
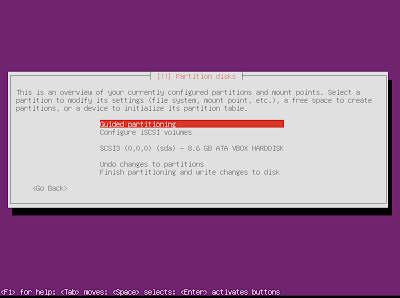
7. In the next page, select Guided Partition for step-by-step process.
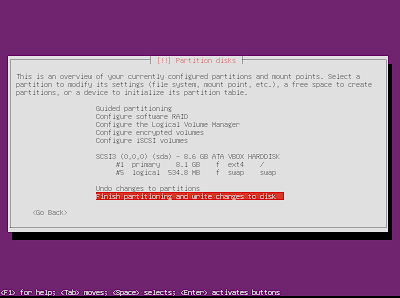
8. Again in the next page, select Finish partitioning and write changes to disk.
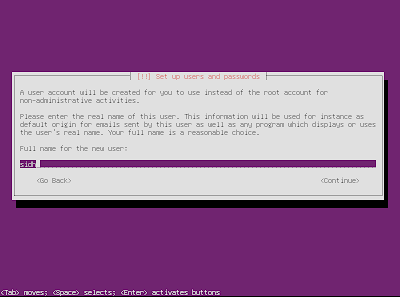
9. Set up the user and password for the new account.
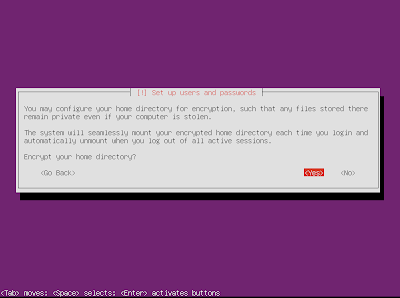
10. In the subsequent new screen, the OS asks you whether you want to encrypt your home directory. Select Yes.
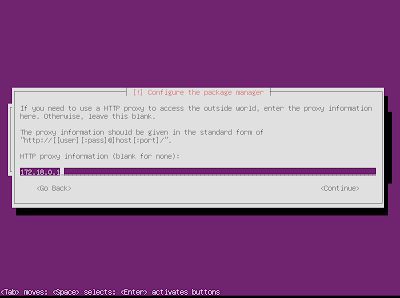
11. Enter HTTP proxy address.
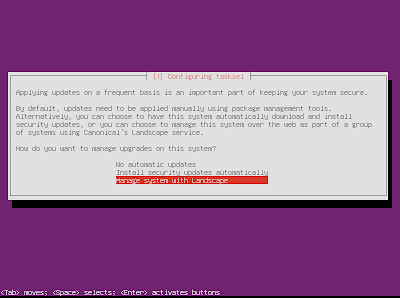
12. For the frequency of updates you want to install, its recommended that you should select manage system with Landscape.
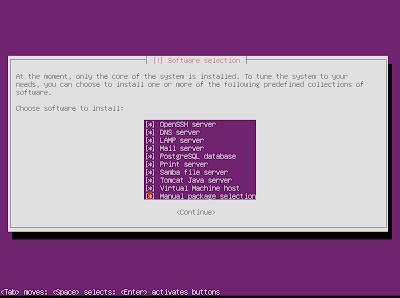
13. Select the software you want to install from the Software package manager, or proceed with continue option.
14. Select Yes in the GRUB Boot Installer option.
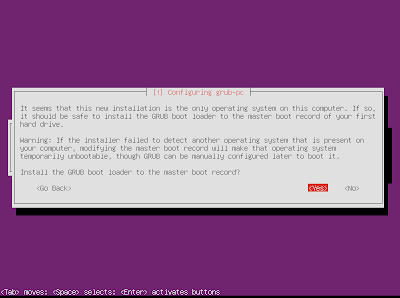
15. Reboot you PC.
So, you see that? It wasnt that tough after all! ;-)
If you found this article helpful, bookmark us, Like us at Facebook or share!
Happy computing!